Desktop Application
gvSIG Desktop is a powerful geographic information system (GIS) designed to offer a free solution to all needs related to geographic information management.
You will be allow to execute SEXTANTE algorithms and gvsig-geoprocesses inside your jython scripts.
Also i will be developing ‘gvpy’ library that will extremly simplify all your code.
Follow me on: masquesig.com or @masquesig
Learn more – Weekly reports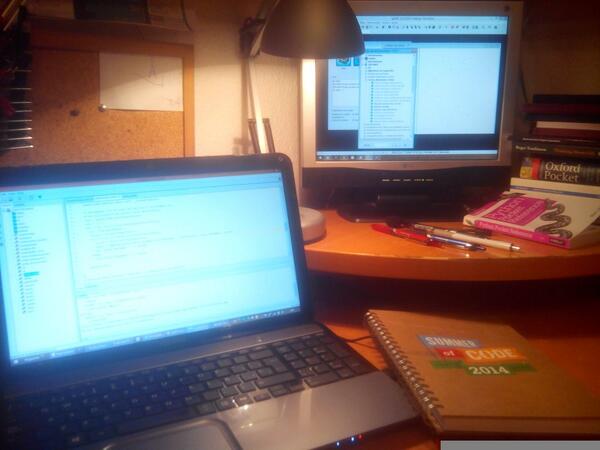

gvSIG Desktop is a powerful geographic information system (GIS) designed to offer a free solution to all needs related to geographic information management.
New module for gvSIG 2.x that will help you to create your own tools using Jython (it’s like Python), easy language even if you never write code before.

This library will help you to develop your tools quickly. Also, now is not available execute any geoprocess from your script. This will allow you to use one powerful extension like SEXTANTE with one line of code.

You can check in my blog masquesig.com a lot of examples about this, how to create shapes with scripts, features, geometries... Sometimes can be a little bit tricky and require practice with gvsig code.
You could create the image above with one click, and i’m sure you will undertand all the code you need. It will be like this:
from gvpy import *
def main(*args):
layer = gvsig.currentLayer() #Base layer
#Create new shapes
layer1 = newLayer(layer,"C:/gvsig/point_shape.shp", 1)
layer2 = newLayer(layer,"C:/gvsig/line_shape.shp", 2)
layer3 = newLayer(layer,"C:/gvsig/polygon_shape", 3)
#Add new features
addFeature(layer1, "point", "01", [50,80]) #New Points
addFeature(layer1, "point", "02",[150,50])
addFeature(layer1, "point", "03",[100,10])
addFeature(layer1, "point", "04",[0,10])
addFeature(layer2, "line", "01", [[50,80],[150,50],[100,10],[0,10],[50,80]]) #New Line
addFeature(layer3, "polygon", "01", [[50,80],[150,50],[100,10],[0,10],[50,80]]) #New polygon
#Modify all values in one column
modifyFeatures(layer1, "field1", "Points_gsoc")
modifyFeatures(layer2, "field1", "Lines_gsoc")
#Modify schema
addField(layer1,"Name")
removeField(layer1,"Name")
#Execute SEXTANTE: algorithm ’perturbate points’
r = gvpy.runalg("perturbatepointslayer", LAYER = layer1,MEAN = 5, STDDEV = 5 )